Introduction
Installing a shower valve can seem like a daunting task, but it doesn’t have to be. With just a few tools and some basic plumbing knowledge, you can easily install a shower valve in your bathroom. Doing so will give you full control over the temperature and flow of the water, ensuring you have a comfortable, enjoyable showering experience. Plus, the overall cost of installing a shower valve is relatively inexpensive and can easily be done in just a few hours.
Important Considerations
Before you begin, there are a few important considerations that you should take into account. First, you will need to determine the size of the shower valve you need. Shower valves typically come in 3/8”, ½”, and ¾” sizes, so make sure you get the correct size for your plumbing system. Second, you should check your local building codes to ensure your installation will be compliant. And finally, it is a good idea to double check the state of your pipes before you start in order to make the job easier and ensure a successful installation.
Tools and Materials
The following tools and materials will be helpful when installing a shower valve:
• Shower valve
• Wrench
• Hammer
• Adjustable wrench
• Cold chisel
• Hacksaw
• Soldering torch
• Tee
• Pipe joint compound
• Teflon tape
• Adjustable wrench
Instructions
Step 1: Shut Off the Water Supply
The first step in installing a shower valve is to shut off the water supply to the bathroom. Locate the main water shutoff valve and make sure it is in the off position. This will help ensure that no water enters the pipes while you are working.
Step 2: Remove the Old Shower Valve
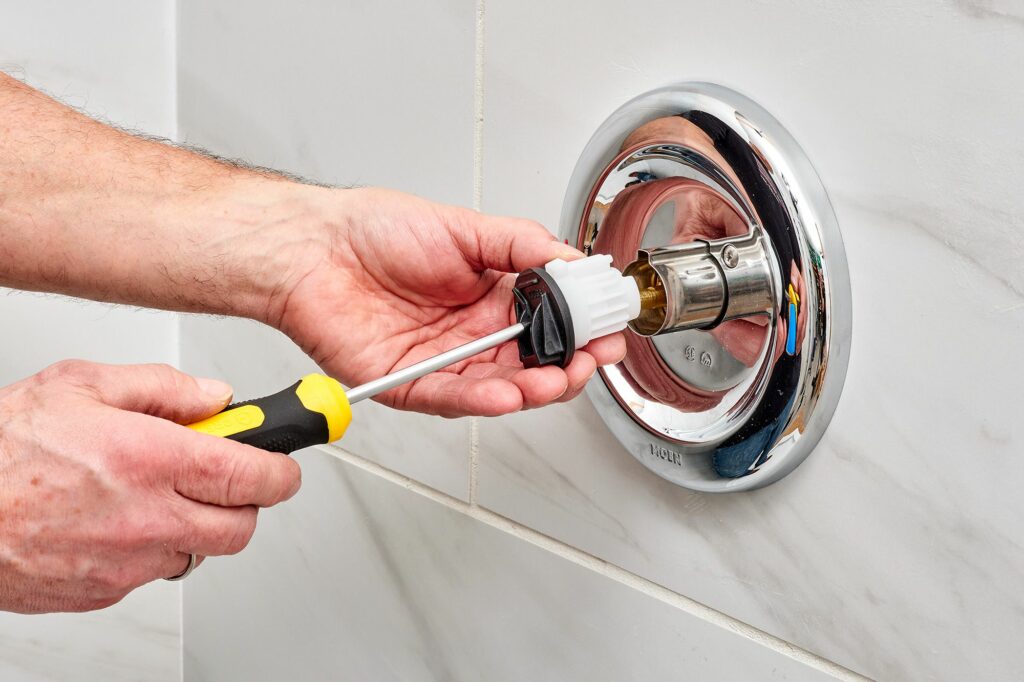
Once the water supply is shut off, you can begin to remove the old shower valve. Use a wrench to loosen any nuts or screws that are holding the valve in place. Then, carefully pull the valve out of the wall.
Step 3: Prepare the Pipes
Next, you will need to prepare the pipes for the new valve. Use a hammer and chisel to remove any corrosion or buildup on the pipes. Then, use a hacksaw to cut the pipes so that they are the correct size for the new shower valve.
Step 4: Solder the Pipes
Once the pipes are prepared, you can begin soldering the pipes together. Use a soldering torch to heat the joints and then apply a pipe joint compound to ensure a tight seal. Make sure to use a pipe joint compound that is approved for use with water.
Step 5: Install the Shower Valve
Now it is time to install the new shower valve. Apply some Teflon tape to the threads of the valve and then use an adjustable wrench to connect the valve to the pipes. Once the valve is installed, secure it to the wall with screws or bolts.
Step 6: Check for Leaks
After the valve is installed, it is important to check for leaks. Turn the water supply back on and open the valve to check for any leaks. If there are any leaks, tighten the connections to ensure a tight seal.
Conclusion
Installing a shower valve can be a relatively simple process, as long as you have the correct tools and materials. Taking your time and double checking all connections can help ensure a successful installation. Plus, with a new shower valve, you can have full control over the temperature and flow of the water to ensure you have a comfortable, enjoyable showering experience.

