Is your little space restricting your style? Then room divider is one of the excellent methods to maximise your space and define rooms. It is a simple, attractive method to make your house more adaptable. And you can even customise the partitioning to suit your needs and lifestyle.
Continue reading to explore how to create a room divider at home in NZ.
What is a Room Divider?
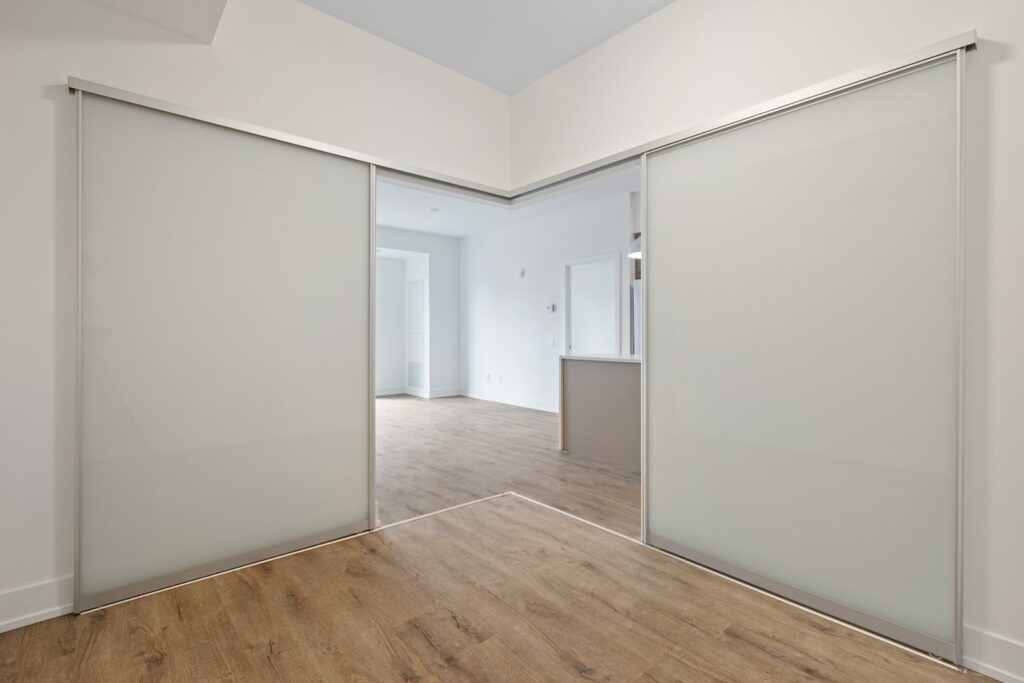
The question may arise that what is a room divider called? It is a piece of furniture that divides an area into distinct zones. Interior designers and architects use room dividers to split the area into different unique zones.
Room dividers can divide a space into several use zones while providing privacy and distinction. They might even give the impression that a room is large.
Homemade Room Dividers
Making a DIY room divider wall is the most innovative way to reuse wood scraps. It not only provides space but also contributes to the decoration of your home. We have listed a few different types of room dividers below:
DIY Geometric Room Divider
Making a DIY geometric room divider may appear hard. However, everyone would enjoy themselves while working on this project. It can be used not only as a barrier but also as room décor. To fit in a foldable wood frame, arrange the colourful wood or hardboard rays in a geometric arrangement.
Wooden Room Divider
Make a divider for your space by repurposing old wood blocks or planks. Wood blocks can be arranged in a horizontal arrangement and fitted into a wood steel or wood frame. Once you’ve finished processing, you can decorate it with flowers.
DIY Woven Room Divider
A woven yarn room divider is a great way to change up the look of your space. It may take longer to customise this DIY divider than a simple one. But all you have to do is weave your pattern into the wicker.
Hinged Room Divider
Create a customised room divider to save space and enjoy living in elegance. This DIY divider’s processing is comparable to that of others. However, when it comes to wallpaper and paint moulding, it may take a little longer. After you’ve installed wallpaper on panels, all you have to do now is secure them with screws.
Folding Screen Room Divider
Are you looking for a better way to focus on your job without being interrupted? You can create a foldable screen and room divider if that is the case. It will give you more solitude and a new look to your space.
Tools and Materials For Making a DIY Room Divider NZ
Put your carpentry and drywall abilities on the back burner for DIY room divider ideas. Instead, choose simple equipment and materials that are straightforward to handle.
Tools
- Safety equipment
- Marker pen
- Cordless drill
- Mini roller and tray
- Measuring tape
- Metre saw
- Combination square
- 50mm stainless steel angle brackets (L)
Materials
- Drill and driver bit
- Interior paint
- Wood screws
- Wall anchors for your wall type
- Nine DAR Tasmanian oak
- Timber filler
- Sanding block or abrasive paper
- Tape or wood glue
- Primer sealer
Making a Room Divider NZ: A Step-by-Step Guide
Making a room divider in NZ on your own does not necessitate any professional expertise. Even with beginning skills, you can complete this DIY project. You can use dressed timber battens as the foundation for room transformations. To create a room divider wall on your own, follow the steps below:
1. Making the slats and rails
For the vertical slats, you need to cut eight 65mm DAR oak to 2.1m using a mitre saw. Cut the remaining 65mm piece into two 751mm lengths for the top and bottom rails. Lastly, cut the 40mm DAR oak into three 751mm lengths for the main horizontal rails. While you could use a metre box and a hand saw to make the cuts, a mitre saw will result in a faster and more accurate assembly.
2. Position of the slats
Mark out the position of the slats with a length of painter’s masking tape along the top, base, and middle rails. You can start with the top rail and measuring 65mm from the edge, then 33mm, and repeat to the end.
Then, using the combination square, transfer the measurements to the other rails. The room divider needs to be 2.1m tall and 751mm wide. So the vertical slats need 33mm apart space.
3. Drilling holes into the slats
Along the top and bottom rails (32.5mm from the edges) and the middle rails, draw a centreline (20mm from the edges). Drill pilot holes along the lines with a 2.5mm bit, equally spacing two holes in each slat.
4. Securing the top and base rail
Set out the slats under the top and base rails on a big, level surface, matching them up with the marks. Start at one end, making sure the first slat is flush and square with the top rail. Then secure with two 20mm screws driven with a driver bit using a drill. Make sure the slat is flush with the base rail. Then fasten it and do the same with the other rails.
5. Securing the middle rail
Measure and mark 1050mm from the base to the centre of a middle rail on the slats at either end, then secure with screws. Secure the remainings and mark the end slats 40mm on either side of the first centre rail.
6. Fill, sand and paint
Fill screw heads with a timber filler using a spatula and allow to dry. After sanding and wiping with a moist cloth, apply primer and two coats of paint with a small roller, allowing each coat to dry between coats. Make sure to spray-paint the brackets in a matching colour before mounting them to cover them.
7. Lock it in
Mark out where the divider will go. Place one bracket against the wall on the floor and secure it with anchors and screws. Then, attach another one to the top of the divider, and fasten it with screws. Make sure one arm is against the wall and the other at the top.
Then place a third bracket to the wall halfway up the partition. Then, attach the fourth bracket to the floor with one arm facing upwards and a screw from the outside to secure the divider within. Thus you will end up with a fantastic-looking room divider on your own. Working on DIY projects to create something new for your home’s décor would be really fulfilling. Create a room divider yourself using these simple instructions to make your room space more comfortable to share with others.

