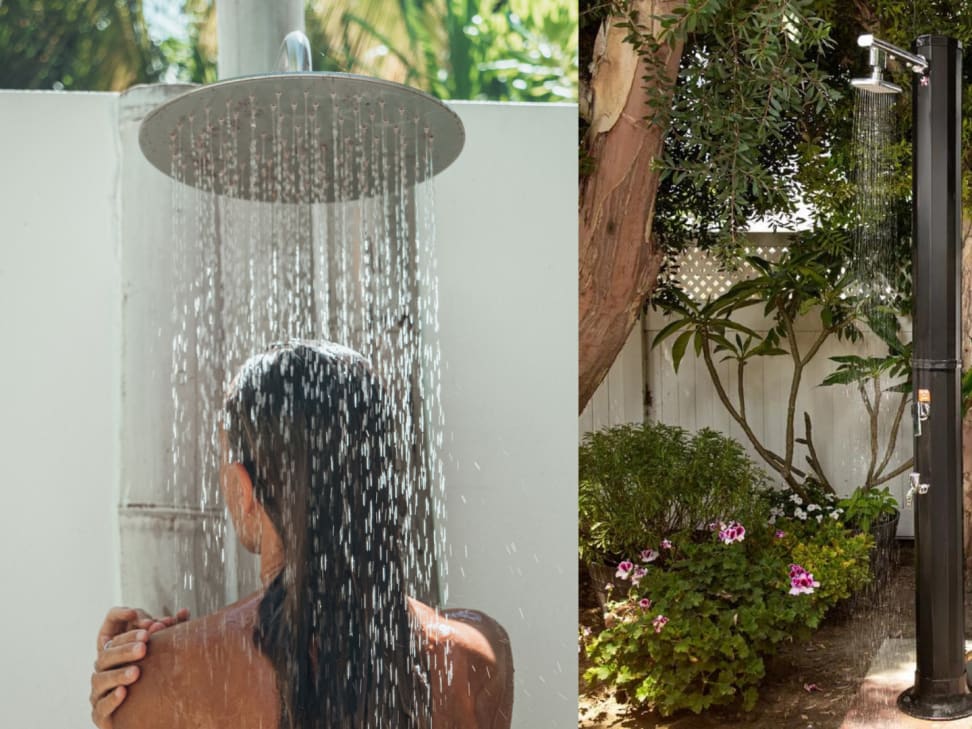
Introduction
Creating a DIY outdoor shower can add convenience, luxury, and a special touch to your backyard. Not only is it a great way to save money, but it will also provide you with a unique outdoor experience. With a few materials and tools, you can make an outdoor shower that is both practical and attractive. This guide will provide you with a detailed, step-by-step plan for creating your own DIY outdoor shower, including the time and money required, precautions, and more. So, what are you waiting for? Let’s get started!
Gather Your Materials
Before you get started, you’ll need to gather your materials. You’ll need a shower pan, a shower head, a hose, pvc piping, a water supply, and a pump if you need it. You’ll also need various tools, such as a hacksaw, a drill, a level, and pliers. Make sure to have plenty of extra materials as well, in case you find that you need more than you had initially anticipated.
Select Location and Prepare the Area
The first step in creating a DIY outdoor shower is to select the location and prepare the area. You want to choose a spot that is convenient for you and that has good drainage. Make sure that the area is level and that the ground is clear of stones, debris, and other potential hazards. Once the area is cleared, you’ll need to dig a shallow trench around the perimeter of the shower to make sure that water does not flow elsewhere.
Assemble the Shower Pan
Now you can start to assemble the shower pan. Take your pvc piping and make sure to measure the length of the pipe so that it fits around the perimeter of the shower pan. You’ll need to cut the pipe down to size using a hacksaw and then connect it with the various fittings you have purchased. Make sure to use pliers to make sure that the fittings are secure. Once the pipe is connected to the shower pan, you can then attach the pump, if necessary, to the pan.
Install the Shower Head and Hose
Next, you can install the shower head and hose. Make sure to measure the length of the hose before you cut it with a hacksaw. Then connect one end of the hose to the shower head and the other end to the water supply. Once the hose is connected, you can then attach the shower head to the wall of the shower pan.
Fill the Shower Pan and Test it Out
Now it’s time to fill the shower pan with water. This can be done by connecting the hose to the water supply and turning the water on. Once the shower pan is filled, you can then test it out to make sure that everything is working properly. You’ll also want to make sure that the water is draining out of the shower pan properly.
Add the Finishing Touches
Once everything is working properly, you can then add the finishing touches to your outdoor shower. This can include a variety of items, such as tile, plants, and outdoor lighting. Make sure to choose items that are weatherproof and can stand up to the elements.
Summation
Creating a DIY outdoor shower can be a great way to add convenience, luxury, and a special touch to your backyard. With the right materials and tools, you can make an outdoor shower that is both practical and attractive. This guide provided you with a detailed, step-by-step plan for creating your own DIY outdoor shower, including the time and money required, precautions, and more. So, what are you waiting for? Get started and make your backyard a little bit more special.
Expenses and Time Investment
Creating a DIY outdoor shower will likely take a few days to complete. The total cost will depend on the materials you choose and any additional fixtures or decorations you plan to add. Generally, the total cost should range from $200-$500. Make sure to factor in additional tools, such as the hacksaw and drill, and any other items you may need.
Safety Precautions
As with any DIY project, safety is always a top priority. Be sure to read all the instructions on the materials you are using and make sure that you are wearing the proper protective gear. Do not attempt any task that you don’t feel comfortable doing and always double-check your work to make sure that it is safe and secure.


