How to Install a New Light Fixture: A Step-by-Step DIY Guide
Installing a new light fixture can be a great way to liven up a room and bring it a new look and feel. Though it may seem intimidating, it’s actually quite a simple process that anyone can do. This guide will walk you through the steps to install a new light fixture—safely and efficiently.
Why You Should Install a New Light Fixture
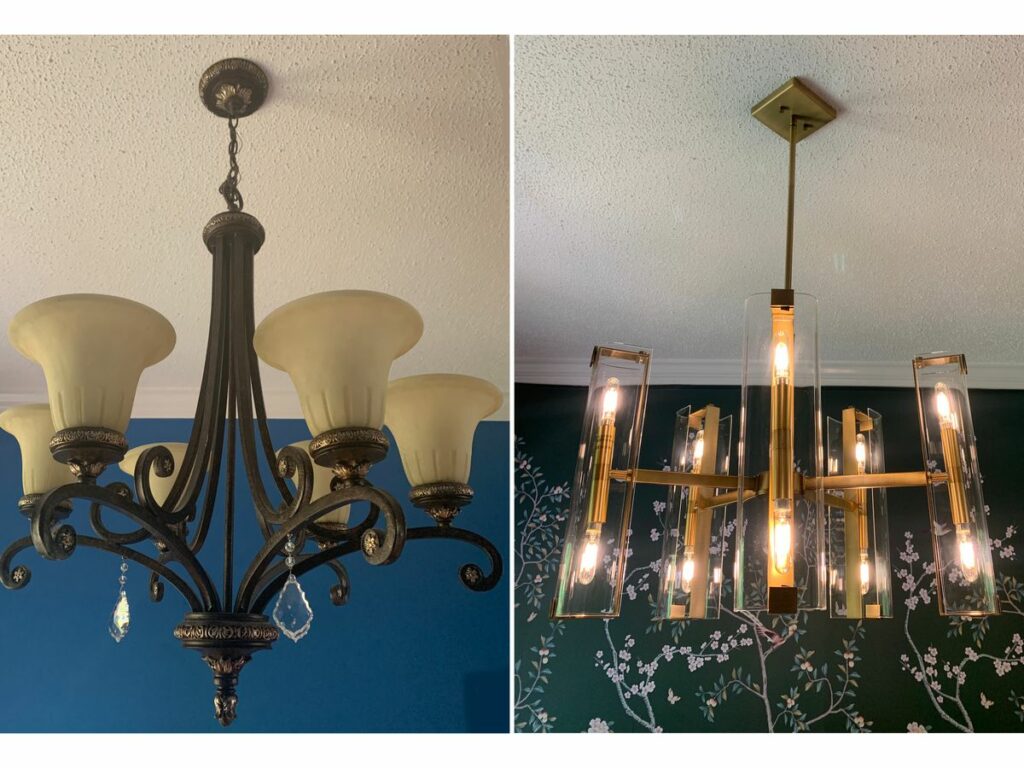
Installing a new light fixture is a great way to update the look of your home. You can find fixtures in a variety of styles and colors to match any decor, from modern and industrial to traditional and rustic. With the right fixture, you can expertly highlight the features of a room and create a welcoming atmosphere.
It is also a relatively inexpensive and easy way to instantly freshen up a room. Installing a new light fixture is much more cost-effective than redecorating the entire space, and it can be done in a few easy steps.
What You Will Need
Before getting started, make sure you have all of the necessary supplies. You’ll need to purchase a new light fixture, as well as appropriate wiring and hardware. Also, you’ll need basic tools, such as a screwdriver and wire strippers.
Precautions
Before you begin, make sure the power is off to the light fixture you’re replacing. This is the most important step to ensure your safety. To do this, locate the circuit breaker that controls the power to the room, and switch it off. You should also double-check to make sure there is no power in the fixture itself.
Step 1: Remove the Old Fixture
Begin by carefully removing the old light fixture. To do this, remove the screws that secure the fixture to the ceiling. Then, carefully detach the wiring from the fixture, taking note of the colors of the wires. Be sure to handle the old fixture with care, as it could still be carrying an electric current.
Step 2: Prepare the Wiring
Once the old fixture is removed, you can prepare the wiring. Start by unscrewing the wire nuts and separating the wires. Use wire strippers to strip the ends of the wires, exposing about a quarter-inch of the metal core.
Step 3: Connect the Wires
Take the new fixture, and carefully twist together the corresponding colored wires. Make sure to use wire nuts to secure the connection.
Step 4: Secure the Fixture
Once all of the wires are connected, you can secure the new fixture to the ceiling. To do this, use the appropriate mounting hardware, and make sure to follow the manufacturer’s instructions.
Step 5: Test the Fixture
Before you turn the power back on, test the fixture to make sure everything is properly secured. Gently pull on the fixture to make sure it is secure and will not come loose.
Step 6: Turn on the Power
Once you are confident the new fixture is secure, you can turn the power back on. Head back to the circuit breaker, and switch it to the “on” position.
Step 7: Enjoy Your New Fixture
Your new light fixture should now be installed and ready to use. Enjoy your updated room, and bask in the newfound brightness.
Time and Expenses
Installing a new light fixture is a relatively quick and easy process that can be done in around 15 minutes. The cost will depend on the type of fixture you purchase, but in general, you can expect to spend less than $100.
Conclusion
Installing a new light fixture can be a great way to add a touch of style to a room and make it feel more welcoming. Though it may seem intimidating, it is actually quite a simple process that anyone can do. By following these steps, you can safely and efficiently install a new light fixture.


