Painting your walls is a great way to instantly transform the look of any room in your house. But if you want to paint your walls like a pro, you must follow the right steps and use the right tools and techniques. Here, we’ll provide a comprehensive guide to painting your walls like a pro. With this guide, you’ll have the perfect-looking walls in no time.
Why Hire a Pro?
Hiring a professional to paint your walls can be expensive and it can also be inconvenient. You’ll have to work around their schedule and rush to clear the area for them. Plus, you’ll have to pay for the materials and supplies they’ll need. But if you follow the steps outlined in this guide, you can paint your walls like a pro without breaking the bank. Plus, you’ll have the satisfaction of having done it yourself.
Gathering Tools and Supplies
Before you start painting, you’ll need to gather the right tools and supplies. Here’s what you’ll need:
– Paint: You’ll need to buy the right type of paint for your walls. A professional painter should be able to advise you on what type of paint is best for your walls.
– Paint Brushes: You’ll need a variety of paint brushes to get the job done right. You’ll also need a brush cleaner for when you’re done.
– Paint Rollers: Paint rollers are great for painting large surfaces quickly and evenly.
– Drop Cloths: To protect your floors and furniture, you’ll need to cover them with drop cloths.
– Painters Tape: Painters tape is great for getting that perfect, neat edge along walls and trim.
– Spackle: Spackle is a compound used to fill in holes and cracks that can occur on walls over time.
– Sandpaper: Before painting, you’ll need to use sandpaper to smooth out any rough spots on your walls.
Prepping the Room
Before you start painting, you’ll need to take some time to prepare the room. First, you’ll need to remove any furniture from the room. If you have any wall hangings, you should remove them as well. Once the room is empty, you’ll need to start prepping the walls for painting.
Cleaning the Walls
Before you start prepping the walls, you must clean them. Walls tend to accumulate dust and dirt over time, so you’ll need to use a cloth and warm, soapy water to clean the walls. This will ensure that the paint adheres properly and doesn’t peel off in the future.
Filling in Cracks and Holes
Now that the walls are clean, you’ll need to fill in any cracks or holes with spackle. Use a putty knife to apply the spackle and smooth it out. Filling in the holes and cracks will give you a smooth surface to paint on.
Sanding the Walls
Once the spackle is dry, you’ll need to sand the walls. This will help to even out any rough patches and ensure a smoother finish. Use a damp cloth to remove any dust after sanding.
Applying Painters Tape
Now that the walls are prepped, you’ll need to apply painters tape along the edges of the walls and around any trim. This will help to ensure a neat, professional finish.
Start Painting
Now it’s time to start painting. You’ll need to open the cans of paint and stir them with a wooden or plastic stirrer. This will ensure that the paint is mixed evenly and there are no lumps.
Applying Primer
Before you start painting, you’ll need to apply a coat of primer. Primer helps the paint adhere better to the wall and makes for a smoother finish. After the primer is dry, you can start painting.
Painting with a Brush
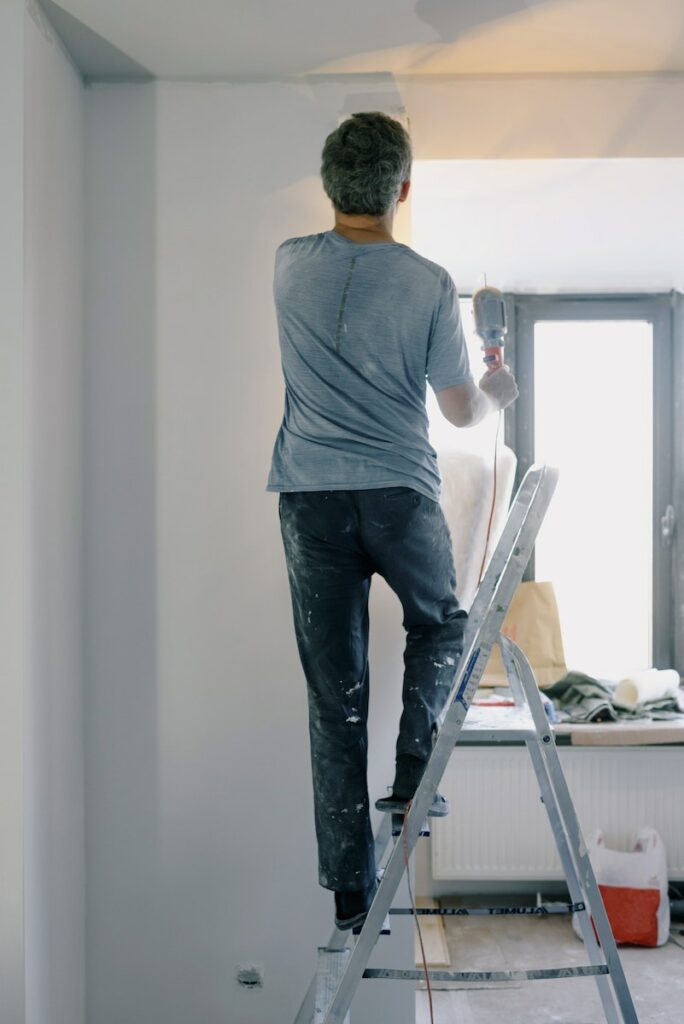
To get a neat, professional finish, you should start by painting the edges and corners of the walls with a brush. This will ensure that the edges of the walls are painted neatly and evenly. Once the edges are done, you can start painting the larger surface area with a paint roller. Start in the corner of the room and roll up and down in a ‘W’ motion. This will give you an even finish.
Cleaning Up
Once you’ve finished painting the walls, you’ll need to clean up. Start by cleaning your brushes and rollers with a brush cleaner. Then remove the painters tape and clean any splatters off the floors and furniture.
The Benefits of Painting like a Pro
Painting your walls like a pro can have many benefits. First, it can save you money by avoiding the expense of hiring a professional. It can also be a great way to add a personal touch to any room in your house. Plus, it can help to increase the value of your home.
Time and Expenses
Painting your walls like a pro doesn’t take as long as you might think. On average, it can take around three days to finish a room depending on the size and complexity. As for expenses, you’ll need to factor in the cost of paint, brushes, rollers, tape, spackle, and sandpaper. All these materials should cost around $200 – $300.
Precautions
When painting your walls like a pro, there are a few precautions you should take. First, make sure to wear protective clothing such as a face mask, gloves, and long sleeves and pants. This will help to protect you from paint fumes and splatters. Also, make sure to open windows and doors for ventilation. Last but not least, keep children and pets away from the workspace to avoid any accidents.
Conclusion
Painting your walls like a pro is a great way to give any room in your house a makeover. With this guide, you’ll have the perfect looking walls in no time. Just make sure to follow all the steps outlined in the guide and use the right tools and techniques.


