How to Add Rustic Charm with DIY Barn Doors
Adding a barn door to your home is a great way to add rustic charm and a unique, unexpected twist to any room. When using a barn door, it’s important to consider the added style and impact it will lend to the space. Barn doors can be used both indoors and outdoors, and provide a practical and stylish solution for those looking to add some character to their home. In this guide, we will take you through the steps of installing a barn door with all the materials needed, including estimated times and costs.
Why Choose Barn Doors?
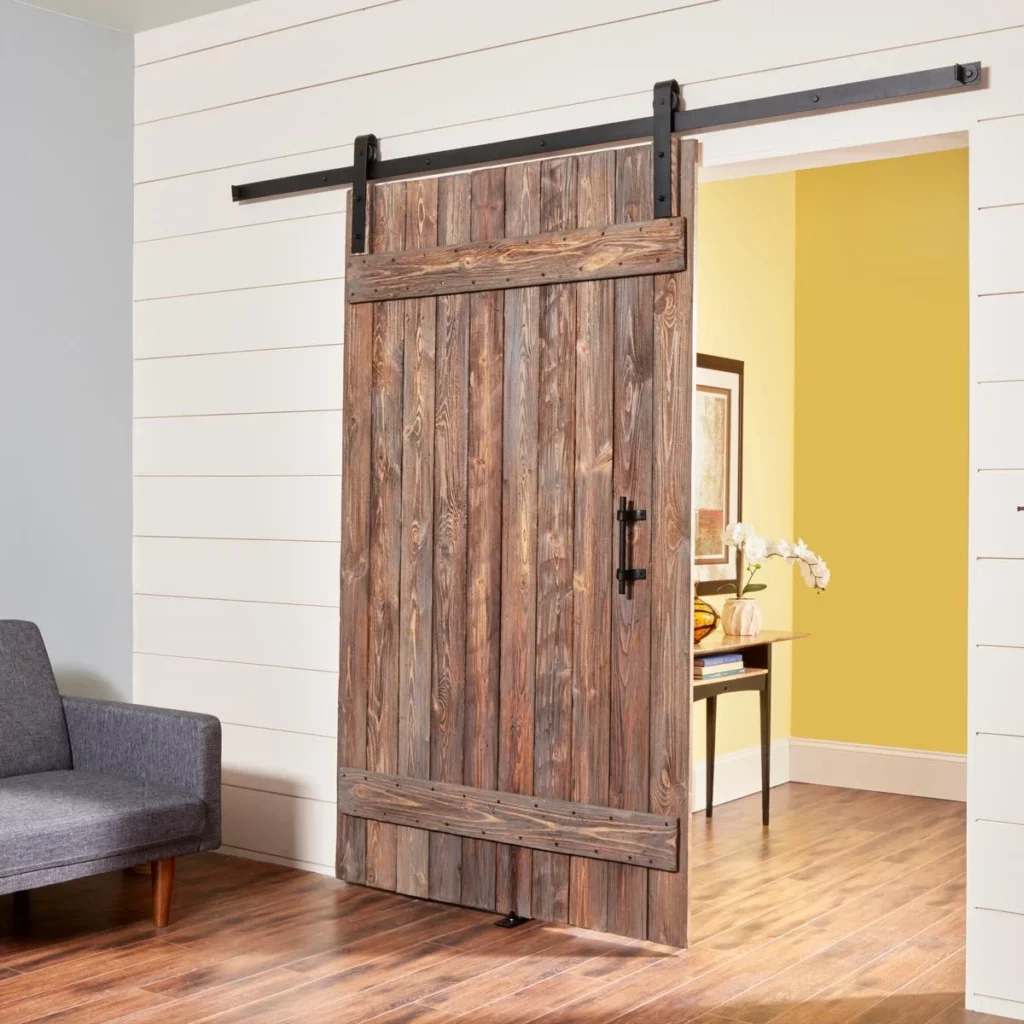
Barn doors today come in all different styles, shapes, and finishes, making it easier than ever to find the perfect door for your home. They are a great way to give a room a rustic, traditional feel, while also adding a modern, refined touch. Barn doors are also a great space-saving solution, as they slide along a track instead of swinging open. This means you can install the door in tight spaces where a traditional door may not fit. Additionally, barn doors are more affordable than traditional hinged doors, and easier to install.
Gather the Supplies
Before you start the project, it is important to make sure you have all the necessary materials. You will need:
- Barn door
- Barn door track
- Rollers and hinges
- Screws, nuts and bolts
- Tools such as a drill and screwdriver
Install the Track
Once you have gathered all the materials, the first step is to install the track that the barn door will run on. This should be installed directly above the door frame. Before drilling the holes for the track, make sure that the track is level, and that the track is secured firmly to the frame. You can use screws to secure the track to the frame.
Attach the Rollers
The next step is to attach the rollers to the door. This is done by measuring the distance between the roller and the track, and then drilling holes for the screws. Make sure that the roller is correctly lined up with the track before drilling the holes. Once the holes are drilled, you will be able to attach the roller with the screws.
Attach the Hinges
The next step is to attach the hinges to the door. This is done by attaching the hinge to the door with the screws, and then attaching the hinge to the frame. It is important to make sure that the hinges are securely attached before you move on to the next step.
Testing and Adjusting
Once the rollers and hinges are attached, it is important to test the door to make sure that it is functioning correctly. This involves opening and closing the door several times to make sure that it is moving smoothly, and not getting stuck on the track. If there are any issues, you may need to adjust the rollers or the hinges, or even the track, in order to make sure that the door is functioning correctly.
Finishing Touches
The finishing touches for a barn door can include anything from painting or staining the door, to adding decorative handles or knobs. This is the perfect time to customize the door and make it your own.
Time and Expenses
The time and expenses required for installing a barn door will depend on the size and type of door, as well as the amount of materials and tools needed. Generally, it should take about 3-4 hours and cost around $100-150, depending on the type of door, track, and rollers you purchase.
Conclusion
Adding a barn door can be a great way to add rustic charm to any room. Barn doors are a great, budget-friendly solution, and can be customized to fit any space.


