DIY Home Automation with Smart Home Devices
Thanks to the advancements in technology, home automation is becoming increasingly accessible to everyone. Home automation can be a great tool to help you manage your home, save energy, and make life easier. But if you’re looking to get started with home automation, smart home devices can be a great way to go
DIY home automation using various types of smart home devices can be an easy and cost-effective way to automate your home. Whether you’re a tech enthusiast or a beginner, you can create and customize a set of smart home devices to fit your lifestyle. By taking the DIY approach, you can save money and get the perfect setup for your needs.
In this guide, we’ll explain why DIY home automation is beneficial and walk you through the steps of setting up your own smart home devices. We’ll also discuss the costs, time, and precautions involved in the process.
Why Should You DIY Your Home Automation?
DIY home automation is a great way to get the most out of your smart home devices. With DIY home automation, you can customize your setup to meet your needs and preferences. You can also get a better understanding of how your devices work, which will help you troubleshoot any problems you might have in the future.
DIY home automation can also be much more affordable than buying a pre-built setup. You can buy the components and assemble them yourself, which will save you money compared to buying an entire system. Additionally, you can use open-source software with many devices, which can make the setup process even more cost-effective.
Finally, DIY home automation allows you to be creative. You can create different configurations for different rooms in your house or create multiple automation sequences for different tasks. With DIY home automation, the possibilities are almost endless!
Steps to DIY Home Automation
DIY home automation is relatively simple and straightforward. Here are the steps you’ll need to take to get started:
Step 1: Choose Your Devices
The first step in setting up your own home automation system is to choose the right devices for your needs. There are a variety of different smart home devices available, including door locks, thermostats, lighting systems, and more. Consider what you want to automate in your home and decide which devices you need to make it happen.
Step 2: Connect Your Devices
Once you’ve chosen your devices, the next step is to connect them. Most devices have an app or website you can use to connect them to your home’s Wi-Fi network. Some devices may also require additional hardware such as hubs or bridges to connect them to your network. Make sure you have all the necessary hardware before you begin.
Step 3: Set Up Your Devices
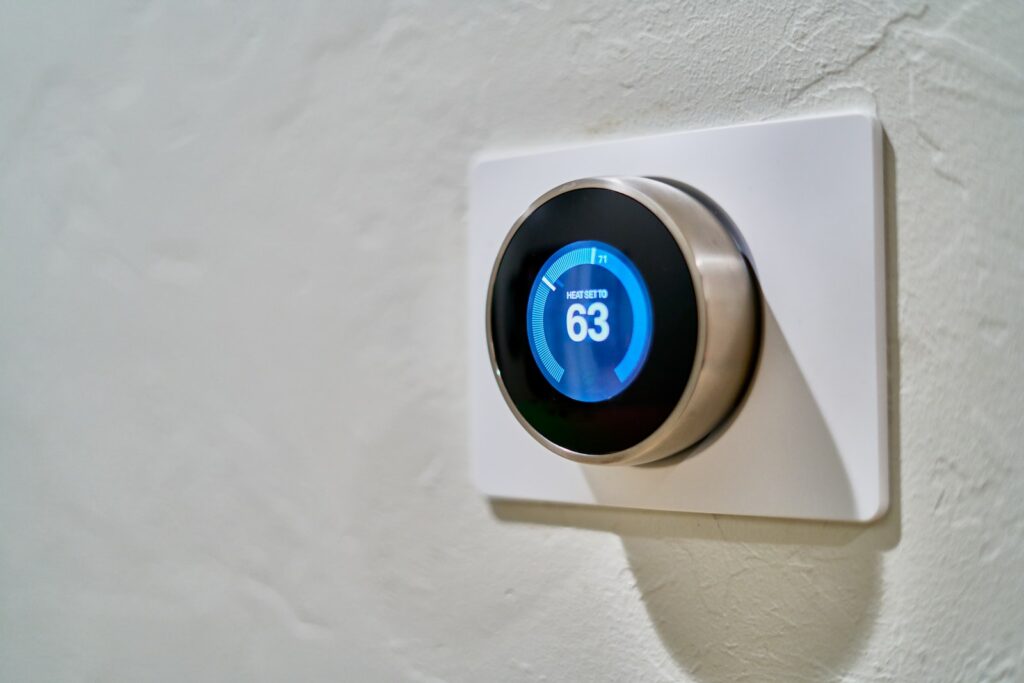
Once you’ve connected your devices, the next step is to set them up. This can involve setting up rules and schedules for when the devices should operate. For example, you can set your thermostat to turn on at a certain temperature in the morning and turn off at night. You can also set up rules such as automatically turning on lights when you enter a room.
Step 4: Test Your Devices
Once you’ve set up your devices, the next step is to test them to make sure they’re working properly. Test each device to make sure it’s working as intended. If there are any issues, you may need to adjust the settings or reconfigure the device.
Precautions to Take When Setting Up Smart Home Devices
When setting up your home automation system, there are a few precautions you should take to ensure your safety and the security of your devices. Make sure you understand how each device works before you begin, and follow all instructions carefully. Additionally, keep your devices up to date with the latest software and firmware updates.
It’s also important to use strong passwords for your devices. This will help protect them from hackers and unauthorized access. Finally, make sure your home’s Wi-Fi network is secure with a strong password and encryption.
Time and Expenses Required for DIY Home Automation
The time and expenses required for DIY home automation will vary depending on the devices you choose and the complexity of your setup. Generally speaking, the more devices you have, the more time and money it will take to set up your system. Additionally, depending on your skillset and experience, it may take you longer to set up your system than an experienced technician.
In terms of costs, the price of your devices will depend on the brand, model, and features of each device. Additionally, you may need to buy additional hardware such as hubs or bridges to connect your devices to your network. Fortunately, you can often find used or refurbished devices at a discounted price, depending on your needs.
Finally, you may need to pay for installation if you’re not comfortable setting up the system yourself. This cost will vary depending on the complexity of your setup and the installer you choose.
Conclusion
DIY home automation is becoming increasingly popular and accessible. With the right devices and a bit of patience, you can easily set up a home automation system in your home. DIY home automation can be a great way to save money and customize your setup to meet your needs. Just remember to take precautions when setting up your system and to make sure you understand how each device works.

