Introduction
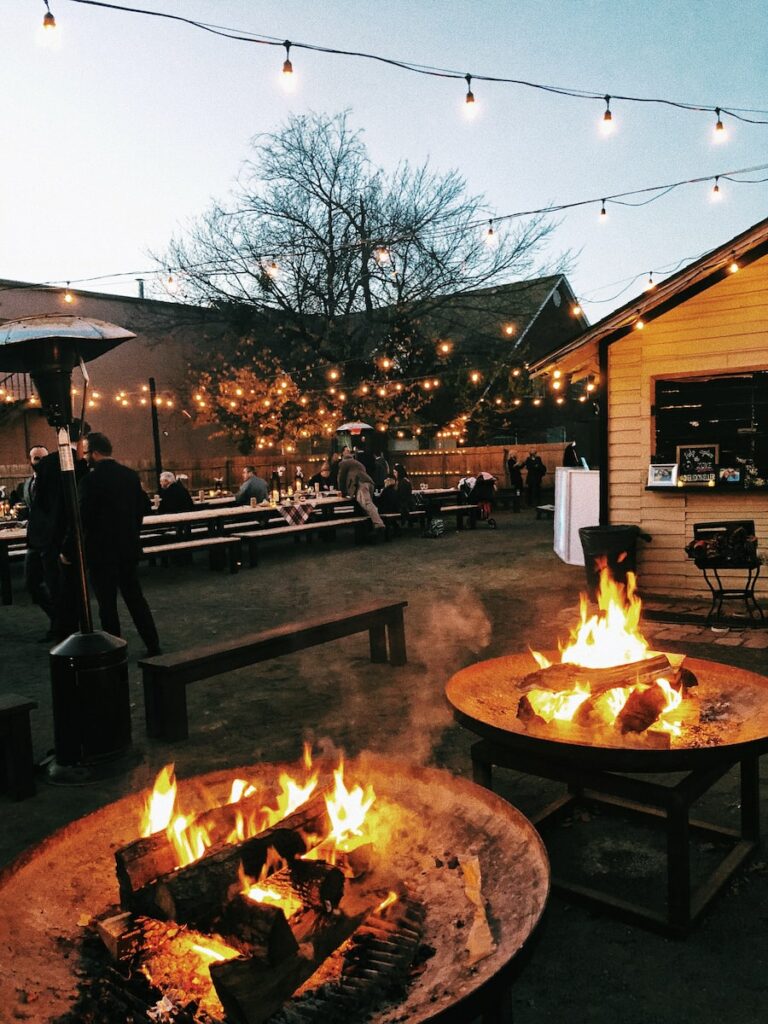
Fire pits can add warmth, ambience, and a cozy atmosphere to any backyard. They are perfect for family gatherings, romantic evenings, and just plain relaxing. They can also create a great conversation piece and add value to your home. Building a fire pit yourself is a great way to save money and add a unique touch to your backyard. The process may seem daunting, but with some basic instruction and a bit of elbow grease, you can have a beautiful, functioning fire pit in no time.
Materials and Tools
The first step in creating a fire pit is to gather the necessary materials and tools. You’ll need fire-resistant bricks and stones, a shovel, a level, a measuring tape, a hammer, mason’s sand, and a bag of cement. You may want to add chair or bench seating around the fire pit, and a protective cover for storage when the fire pit is not in use.
Preparing the Site
You’ll want to choose a location for your fire pit that is away from low-hanging branches, houses, and other flammable materials. To start, use the shovel to dig up about twelve inches of soil and clear away any debris and vegetation. Pack down the soil with the back of the shovel or with a heavy object. Use the level to make sure the area is even.
Creating the Base
Now it’s time to create the base. Measure and mark the ground to the desired shape and size of your fire pit, making sure it’s even. To create the base, you’ll need to layer the bricks and stones. First, lay down a flat layer of bricks or stones, followed by a layer of mason’s sand. You’ll then need to mix the cement with water until it forms a paste. Use a trowel to spread the cement over the stone or brick layer and press the remaining pieces down firmly. Let the cement dry for at least 24 hours.
Building the Wall
Once the base is in place, you’ll be ready to begin building the wall. Lay the fire-resistant stones or bricks in a circle, using the level to make sure the stones are even. For a more secure structure, consider using mortar to attach the stones together. Once the stones are in place, fill the interior of the fire pit with more mason’s sand. This will help protect the base and add insulation.
Finishing the Fire Pit
To complete the fire pit, you’ll need to create an opening in the top of the wall. Use a hammer and chisel to create an opening large enough for the introduction of air and the removal of smoke. You can also create a chimney or flue with bricks or stones. This will allow the smoke to escape and will help draw fresh air into the fire.
Final Touches
Now it’s time to add the finishing touches to the fire pit. Add seating around the fire pit, such as chairs or benches. And if desired, you can add decorative stones or plants to the area surrounding the fire pit. Lastly, cover the fire pit when not in use, to protect it from the elements.
Pros and Cons
Building a DIY fire pit is a great way to save money and add an aesthetic touch to your backyard. It’s also an enjoyable and rewarding experience that can be enjoyed with friends and family. However, there are some drawbacks to consider when building a fire pit. Fire pits require regular maintenance to ensure they remain safe and functioning. Additionally, they may need to be inspected by local authorities, depending on the regulations in your area.
Time and Expenses Required
Building a DIY fire pit typically takes approximately two days and can cost around $100, depending on the materials used. The project is a relatively easy undertaking and requires only basic tools and skills. However, the time and cost of the project may vary depending on the size and complexity of the fire pit.
Conclusion
Creating a DIY fire pit can be a fun and rewarding experience. It can add warmth and ambience to any backyard, making it the perfect spot for family gatherings, romantic evenings, and just plain relaxation. With some basic instruction and the right materials and tools, you can have a beautiful, functioning fire pit in no time.


