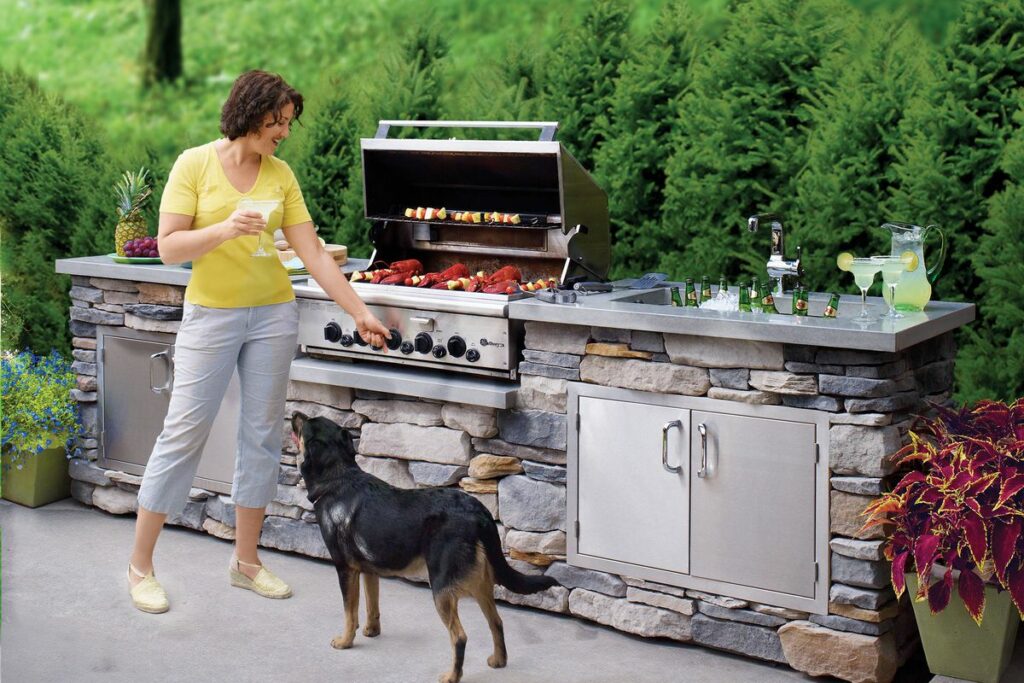
DIY Outdoor Kitchen: How to entertain in style
Entertaining guests in style is a great way to show off your creative side and add a dash of personality to your outdoor space. Whether it’s a summer barbecue or a winter gathering, a DIY outdoor kitchen is a great way to entertain in style. It’s also an economical way to add value to your home and give you more space to work with.
This DIY outdoor kitchen guide will help you create an outdoor dining and entertainment area that will be the envy of your friends. Here are five steps to making your outdoor kitchen:
Step 1: Choose the Right Location
The first step to creating your DIY outdoor kitchen is deciding on the perfect location. Many people choose to place their outdoor kitchen near their patio, deck, or pool. Consider how much space you have available, the direction of the sun, and the distance from the house when choosing a location. Make sure your outdoor kitchen is easy to access and located in a place that’s convenient for entertaining guests.
Step 2: Make a Plan
Once you’ve chosen the perfect spot for your outdoor kitchen, it’s time to start planning. Make a list of all the components you’ll need and decide whether you will build them yourself or purchase pre-made components. Sketch out the size, shape, and design of your outdoor kitchen, including the measurements of each component. Doing this will help you visualize the final product and make sure everything fits together correctly.
Step 3: Gather Materials and Tools
Gathering the right tools and materials is essential to any successful DIY project. Make sure you have all the necessary tools and materials, such as a circular saw, drill, hammer, and screws. You’ll also need to pick out the type of material you’ll be using to construct your outdoor kitchen. Options include treated lumber, composite decking, concrete, stone, brick, and metal.
Step 4: Assemble the Outdoor Kitchen
Now it’s time to start assembling your outdoor kitchen. Begin by building the frame for the outdoor kitchen, making sure to use waterproof screws and seal all joints. Once the frame is complete, add the base and countertops. The countertops should be sealed with waterproof sealant and any exposed wood should receive a coat of weatherproof paint.
Step 5: Add Finishing Touches
The final step is to add the finishing touches to your outdoor kitchen. This might include hanging lighting fixtures, adding planters, installing a refrigerator, constructing a flat-screen TV mount, and more. Have fun with this step and don’t be afraid to get creative.
Time and Cost Requirements
Creating an outdoor kitchen from scratch can be a time-consuming process, but the rewards are well worth it. Depending on the complexity of your outdoor kitchen, the project can take anywhere from one to three days. As far as cost goes, it can range from a few hundred to a few thousand dollars, depending on the type of materials used and the complexity of the project.
Safety Precautions
When creating a DIY outdoor kitchen, safety is of the utmost importance. Make sure to wear safety glasses and gloves when working with power tools. Also, make sure all electrical components are properly grounded and all joints are securely sealed.
Conclusion
Creating a DIY outdoor kitchen is a great way to entertain in style. By following the steps outlined in this guide, you can create an outdoor dining and entertainment area that will be the envy of your friends. It’s also a great way to add value to your home and give you more space to work with.


