Building shelves is an excellent method to add storage, save money on furniture, and improve the appearance of your home. Floating shelves make it possible to attain these advantages in a streamlined and appealing manner.
In this article, we will give you a step-by-step tutorial on building floating shelves.
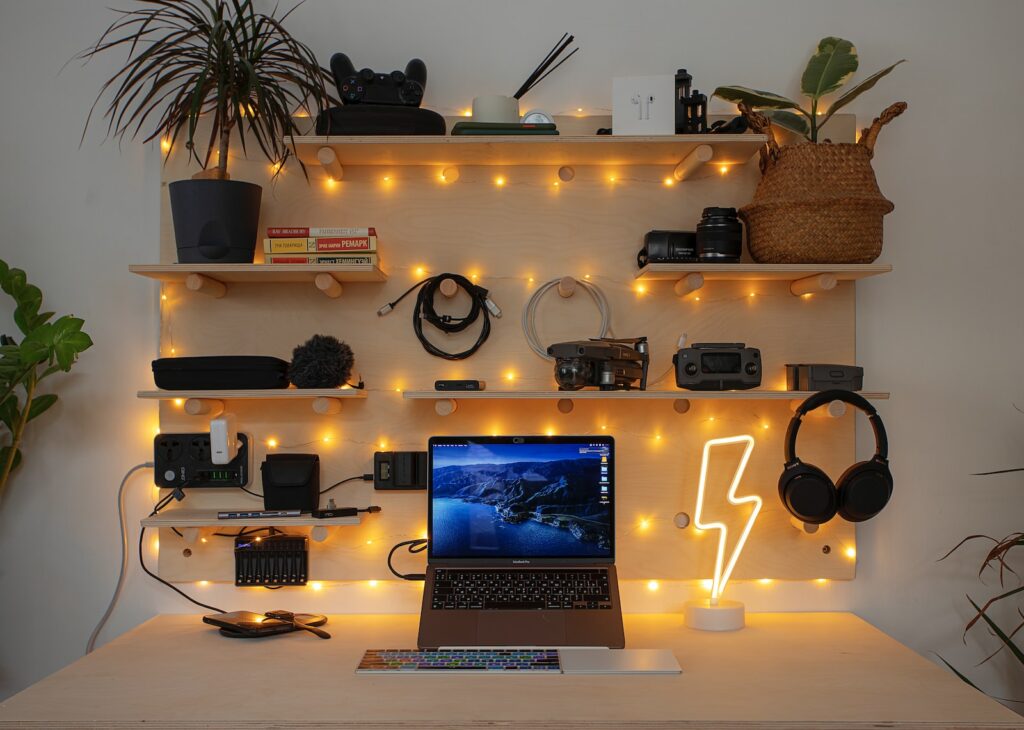
Why Use a Floating Shelf?
The main benefit of a floating shelf is that it looks beautiful and eliminates the irritating sight of a shelving bracket disturbing your room design. Floating shelves are exceptionally durable as all the supporting rods are coated with solid wood.
Floating Shelves For Every Room
Floating shelves are a lovely addition to any home, with every design style. They are simple to customise and construct.
The Kitchen
Floating shelves work wonders in the kitchen as they keep everything accessible while also looking elegant. For most people, the kitchen is the busiest room in the house, so keeping that counter space clear without relegating anything to the back of the pantry is a definite advantage.
The Bathroom
Floating shelves in the bathroom may appear extravagant, but they are a brilliant solution to maximise any unused wall space. They are great for making the most of those empty wall spaces, especially in small rooms like a washroom or a downstairs toilet.
The Bedroom
Floating shelves in a bedroom are brilliant for creating spaces. In a kid’s room, it can keep toys off the floor and display their stuff. As an alternative to a bulky bookshelf, you can use them to store books and create a reading space.
The Laundry
Floating shelves in the laundry may transform a practical and dull environment into one a beautiful one. Dare to be unusual with your clothes and use a floating drying rack to break the mould.
The Living Room
Your living room receives the most visitors, so get creative with your floating shelves. Utilise them as part of the area’s décor rather than just for use. Mix up the sizes of spherical floating shelves to enhance the aesthetic impact and set them against a coloured wall to house flowers, paintings, or photos.
Things To Consider While Making DIY Floating Shelves
If you are looking for instructions on how to build floating shelves NZ, there are a few things to consider, like framing the shelf or mounting it to the wall:
- Planning your installation
It is essential to evaluate how you will use your shelves at this point because it will have a significant impact on your design. What you are storing will determine how safe it should be. Holding up a variety of spices in big glass jars may necessitate heavier anchors and link to the stud. But lining up signed cricket balls for display does not take much more than average-strength shelves.
- Build a frame
Floating shelves are intriguing since they do not have any bulky hardware to support them. Instead, the fastening takes place on the inside. The simplest method is to construct a shelf frame out of light wood, like pine. Pre-drill your holes to prevent splitting, and make sure you have multiple supports along the length of the shelf to prevent the wood from bowing inwards.
- Assemble on the wall
Line up the shelf frame, making sure it is level after marking out where your stud is. Use two anchor screws per stud to fasten your frame to the stud. Now secure your top and bottom boards using a hardboard, a thin piece of ply, or wood.
Your shelf may appear cluttered at the time. So, get your putty, sandpaper, and stain or paint ready. You are free to colour these whatever you want. A dark colour will give you a classic hardwood look, while a glossy white DIY paint job will go well with a minimalist style.
Easy DIY Floating Shelves
A DIY installation is not laborious, and installing a floating shelf is a simple procedure with only a few factors to consider ahead of time.
Tools Or Supplies You Will Need:
You can make personalised versions that fit your home and colour palette. Make your floating wood shelves with the materials listed below:
- Miter Saw
- Drill
- Jigs
- Pine Board or Whitewood
- Drill
- Stain or paint
- Polyurethane (optional)
- Paintbrush
- Wood Glue
- Brad Nails
- Masking Tape
- Pocket Hole Screws
Step 1: Cut The Lumber
Begin by cutting your materials. Each shelf will require a frame that you need to construct first. The rear of the frame, which will be attached to your wall, will be a 2×3 cut at 32′′. After that, each shelf will have three 7.75′′ long brackets.
Step 2: Drill Pocket Holes
Then, on one end of each bracket, use a pocket hole jig to add 1.5′′ pocket holes. It will make your crafts a lot easier to put together and a lot more durable.
Step 3: Put the Brackets Together
After that, use 2.5′′ pocket hole screws to secure the brackets. To make it even more durable, you can apply some Gorilla wood glue to each piece of wood.
Step 4: Installing The Shelf Support On The Wall
That is all there is to the frames! Now it is time to carry them inside and hang them on the wall. The first thing you should do is note the location of your studs. Using a stud finder is the simplest way to achieve this.
Set each frame against the wall and indicate where your studs would be. Then pre-drill two holes in the centre of each stud. When you attach it, it will prevent the wood from breaking. You can join each of the frames with wood screws.
Step 5: Gluing the Top and Bottom Pieces Together
Using wood glue and 11/4′′ brad nails, join the bottom 1/4′′ hardwood plywood to the frame’s base. On this portion, after adding, use a 1×10 board. Then use a nail gun to join them with wood glue and 11/4′′ brad nails.
Step 6: Finishing the DIY Floating Shelf with Trim
Trimming it all out will be your final step. Begin by cutting your side pieces out of whitewood or pine board and gluing them together with 11/4′′ brad nails. Now it’s time to move on to the front of the shelf! You can measure it, but it should be roughly 33.5′′ long. Use glue and brad nails to attach them in the same way.
Step 7: Putting The Floating Shelves Together
After this, tape them off with painter’s tape and fill all the nail holes with wood filler. You can either leave them alone or distress them for a lovely, vintage vibe. Then, to protect the finish, apply one layer of polyurethane.
Step 8: How To Decorate Floating Shelves
Finally, add adorable flowers, quills, stickers, or paintings to your DIY shelf. It is where you may be creative and appreciate your finished product.
Floating shelves provide a certain level of satisfaction. They have a clean and tidy appearance and go with almost any style of decoration. We hope that the easy DIY floating shelves tips and techniques will help you make one.


