Do you want to know how to fix broken floor and wall tiles in the bathroom? Bathroom tiles are an excellent choice for bathroom walls and floors since they are sanitary, inexpensive, durable, and attractive. However, if you want them to look their best, you have to care for them, especially in the high-traffic and high-moisture environments. Failure to do so will result in filth, limescale, and finally cracking of the tile.
Read on more to know how to fix the broken floor and wall tiles in the bathroom and other information related to it.
How Will You Keep the Grout Tiles Clean?
Grout is one of the most visible symptoms of worn tiles. Therefore it’s critical to maintain it clean. Grout is prone to discolouration, cracking, and filth, which can detract from the overall appearance of your bathroom tiles.
If you want a foolproof approach for cleaning the grout in your bathroom tiles, try this:
Remove any filth and grime with a scraper or sponge and a suitable limescale-remover spray as soon as possible. The mould embedded in the tiles will be your only option.
Scrub the area with bleach and a hard-bristled toothbrush after that. In a small bottle, combine two parts of bleach and one part of water. Dip the toothbrush in the solution and scrub each piece of the grout well. It needs 30 minutes of absorption.
Scrub the grout a second time and thoroughly rinse it with water.
How Will You Replace Grout Tiles in the Bathroom?
The filth that has accumulated on your bathroom tile grout might become so ingrained that it refuses to budge. Perhaps you’ve observed that some of the grout is cracked and needs repairing.
If this is the case, you have to replace the grout. You can’t place new grout on top of existing grout since it would appear sloppy.
Begin by removing all of the old grout with a Stanley knife or a grout rake. Remove at least half of the grout depth and carefully chip away at the tile edges to prevent cracking.
Prepare the area by washing off the tiles with a clean, moist cloth before applying the fresh grout. To put the grout, push it into the joints with a grout spreader or a trowel. Then, spreading it throughout the surface area of the tiles and working it into the gaps. Work on tiny areas at a time because it will dry in 20-30 minutes.
Using a moist sponge, remove any residual excess grout. Finally, to achieve a precise and tidy look, apply a grout finisher.
How Will You Clean Water Stains in Tiles?
If your tiles become clogged with tenacious limescale and hard water, don’t think about replacing them just yet.
The appropriate cleanser is essential for eliminating stubborn stains.
This homemade combination works just as well as anything else if you’re seeking a critical answer. Make a paste with half a cup of borax and half a cup of vinegar and apply it to the problem area before washing it down with a sponge.
How to Prevent Mould from Building Up in Your Bathroom Tiles?
It’s critical to take care of your bathroom tiles now that they’re free of hard water stains and filth so that the grime doesn’t return.
- When taking a shower or bath, open a window to let as much fresh air into the room as possible.
- If you have an extractor fan, turn it on after your shower or bath for 20 minutes to remove moisture from the air.
- After a shower or bath, wipe off the tile surfaces with a towel or squeegee.
- In your weekly bathroom clean, scrub your grout regularly.
How to Quickly Repair Broken Floor and Wall Tiles?
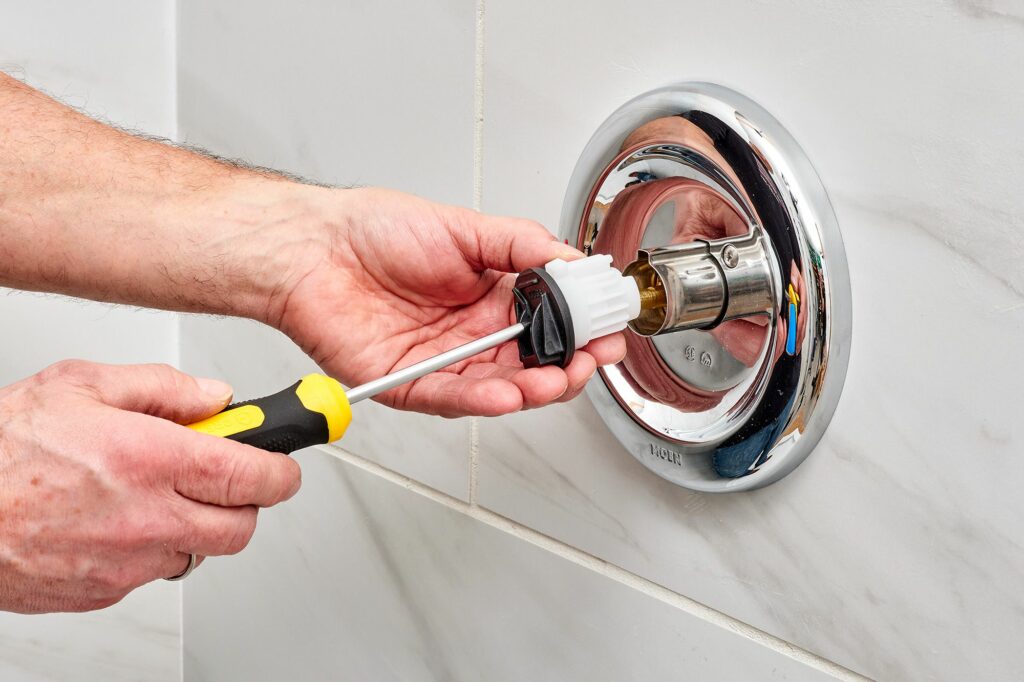
Over time, ceramic shower tiles may get damaged or shattered. There may be damage in grout joints, or individual tiles may fracture, allowing water to enter the walls or floor area, causing damage to subfloors or lower-level spaces.
This article will assist you in resolving these issues.
- You can use tile adhesive to remove broken tiles together (cement under tiles). You may have to break the tile into small pieces for removal. The biggest issue here is that some of the adjacent tiles can break.
- Remove the grout from the tile joints surrounding the damaged tile with a grout saw or other tools.
- Drill a hole in the centre of the tiles you want to remove with a masonry bit. For large tile, you may require to drill many holes to break and remove it. Be cautious not to penetrate too profound since this may harm the substrate or any waterproofing membrane.
- Break the tile into small pieces using a chisel.
- Remove any thin-set mortar or tile adhesive from underneath the tile you’ve just taken out. To instal the new tile, you’ll need a smooth, clean surface.
- Before continuing, check again if any waterproof membranes are in better condition. To ensure there isn’t a leak beneath the tiles you’re replacing, you may need to repair rubber or vinyl membranes, and the procedures for doing so differ depending on the membrane.
- Use a notched trowel to apply ceramic tile adhesive or thin-set tile cement to the substrate. You may need to apply this substance using a putty knife for modest repairs.
- Replace the tile by pressing it firmly into the adhesive or thin-set, ensuring well embedded. Ensure that the tile joints are consistent and that the freshly placed tile is flush.
- Repair any seams that don’t lend themselves to groutings, such as metal trim or fixture penetrations, with an excellent, watertight bathroom sealant or caulk. Finally, you’ve completed the task.
Alternatively, if you’ve had the bathroom tiles for a long time and they’re out of supply, you might want to consider replacing the rest of them as well. If the broken tile is behind the shower, instead of redoing the entire room, you might be able to get away with creating a feature wall with contrasting tiles.


