DIY Concrete Countertops: A Beginner’s Guide
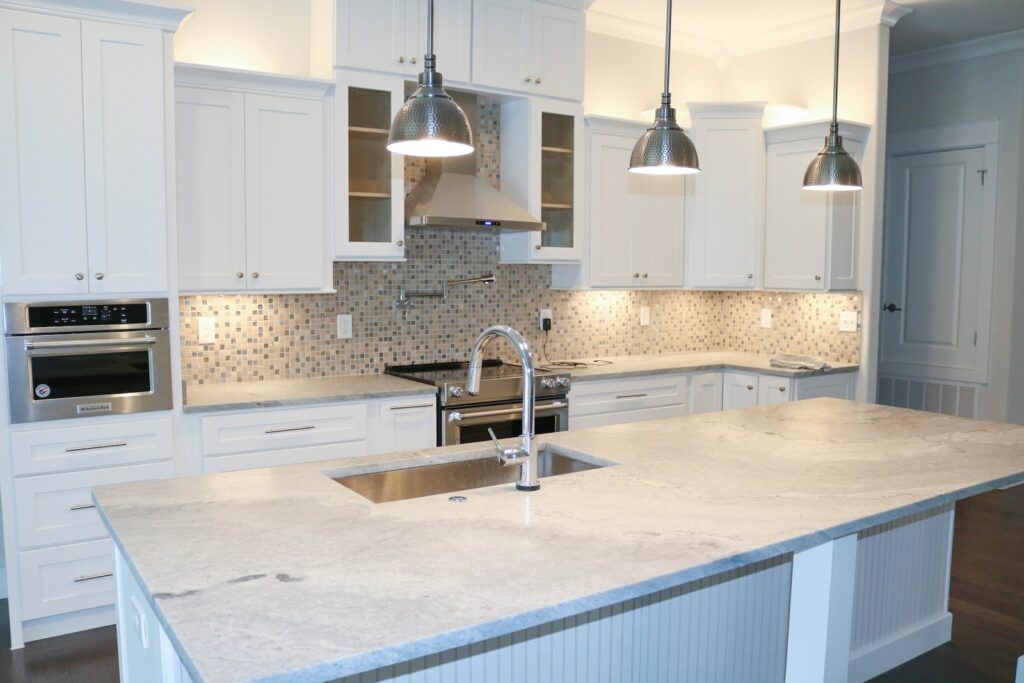
Concrete countertops can be a great addition to any kitchen or bathroom renovation project. Not only are they stylish and modern, but they can also be relatively easy to install. In fact, with the right tools and supplies, you can complete a DIY concrete countertop project in just a few days. This guide will teach you everything you need to know to successfully create and install your own concrete countertop.
Why DIY Concrete Countertops?
DIY concrete countertops can be a great way to save money and add a personal touch to your home. With the right supplies, a bit of creative thinking, and some elbow grease, you can create a stylish and unique countertop that is sure to put your home above the rest.
Concrete countertops also provide a durable and long-lasting countertop surface. They are also easy to clean and maintain, so you can enjoy a beautiful countertop without having to worry about it getting damaged over time.
Gathering Supplies
The first step to making your own DIY concrete countertop is gathering the right supplies. You’ll need a variety of items including concrete mix, a trowel, measuring cups, rubber gloves, a sponge, a roller, a float, a bucket, and sealant. Additionally, you may want to purchase a few decorative items such as glass tile or other accents to add a bit of personality to your countertop.
Measuring and Cutting
Once you have all of your supplies, it’s time to measure and cut your concrete. Start by measuring the area where you plan to install your countertop and then use a trowel or ruler to mark and cut the concrete to the desired size. Make sure to measure twice and cut once to ensure the pieces you cut will fit together correctly.
Mixing the Concrete
After you have cut the pieces of concrete to size, it’s time to mix the concrete. Start by adding the concrete mix to a bucket and slowly adding water until the mixture reaches the desired consistency. It should be a thick, smooth mixture that can easily be spread on your countertop.
Applying the Concrete
Once the concrete is mixed, it’s time to start applying it to your countertop. Start by laying out the pieces of concrete and making sure they are properly aligned. Then use a trowel to spread the concrete evenly across the countertop, making sure to fill any gaps.
Smoothing and Sealing
Once the concrete is applied, you need to smooth and seal it. Start by using a sponge to remove any excess concrete and then use a roller to smooth out any bumps or imperfections. Then apply a sealant to protect the concrete from water and other elements.
Finishing Touches
The last step in creating your concrete countertop is adding any decorative touches you would like. This can include glass tile, stencils, or other accents. Once you have added any desired accents, your countertop is ready to be installed!
Cost and Time Estimates
Creating your own DIY concrete countertop can be a relatively inexpensive and quick project. The total cost of supplies and materials will depend on the size and complexity of the countertop, but on average, you can expect to pay around $100. You can expect the project to take anywhere from two to four days depending on the size and complexity of the countertop.
Safety Precautions
When working with concrete, it is important to take safety precautions to ensure you are working safely. Wear protective gloves and goggles to protect yourself from dust and debris. Also, make sure to wear long pants and a long-sleeved shirt to protect your skin from the concrete. Finally, do not let the concrete dry on your skin, as it can cause irritation and burns.
Conclusion
DIY concrete countertops are a great way to add style and personality to your home. With the right supplies and a bit of patience, you can create a beautiful and durable countertop in just a few days. The cost of materials will vary depending on the size and complexity of the project, but on average, you can expect to spend around $100.

