Introduction:
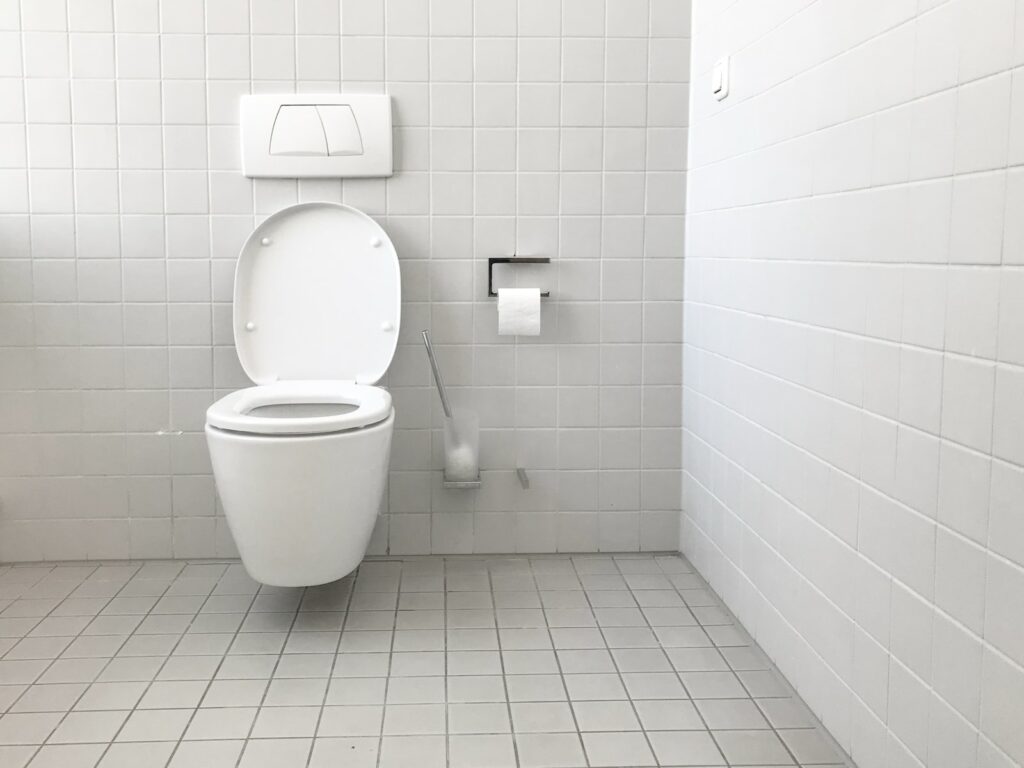
Installing a new toilet can be an intimidating task for many homeowners. Replacing a toilet can help with aesthetics, modernize your bathroom, and even save you money in the long run. After all, the toilet is the most frequently used plumbing fixture in any home. This guide will provide a step-by-step guide to help you install a new toilet with ease.
Things You Will Need:
Before you begin, you will need to make sure you have the right tools and materials. You will need:
- New toilet
- Screwdriver
- Adjustable wrench
- Tape measure
- Plumber’s putty
- Caulk
Step 1: Turn off the Water Supply
The first step to installing a new toilet is to turn off the water supply. This is essential in order to avoid any water damage during the installation process. To do this, locate the shut-off valve located in the wall near the toilet and turn the handle clockwise until it is fully closed.
Step 2: Remove the Old Toilet
Next, you will need to remove your old toilet. Begin by unscrewing the two bolts that are connected to the base of the toilet. The bolts are usually located on the sides of the toilet. Once they are loose, you can lift the toilet off of the floor. Upturn the toilet onto its back and unscrew the water supply line from the bottom of the tank. Remove the tank from the bowl, and then the bowl from the floor and discard.
Step 3: Install the New Toilet
Before you can install the new toilet, you will need to make sure it fits in the space you have. Measure the distance between the wall and the bolts, and make sure the tank of the new toilet fits in this space. If the toilet fits, you can begin to install it. Place the bowl on the floor, making sure to level it. You may need to adjust the floor bolts to ensure the toilet is properly balanced. Then, place the tank on the bowl, and secure it with the mounting bolts.
Step 4: Connect the Water Supply Line
Connect the new water supply line to the tank, being sure to use plumber’s putty to create a watertight seal. Make sure the water is turned off and the valve is closed before you do this. Next, turn the water supply back on and check for leaks. If there are no leaks, turn the valve on and check for any leaks once again.
Step 5: Seal the Toilet
Finally, use caulk to seal the toilet to the floor. This will help reduce any potential leaks and make sure the toilet is properly installed. Allow the caulk to dry before using the toilet.
Conclusion:
Installing a new toilet can be an easy and effective way to improve the look and function of your bathroom. By following the steps outlined in this guide, you will be able to complete the job quickly and safely. In addition to the tools and materials listed, you may need to purchase additional components to complete the installation, depending on the make and model of your new toilet.
The installation process should take between two and three hours, and the cost of materials should be around $50. It is important to use caution while installing any plumbing fixtures, and to follow the manufacturer’s instructions closely. With the right tools, patience, and a bit of know-how, you can successfully install a new toilet on your own.


